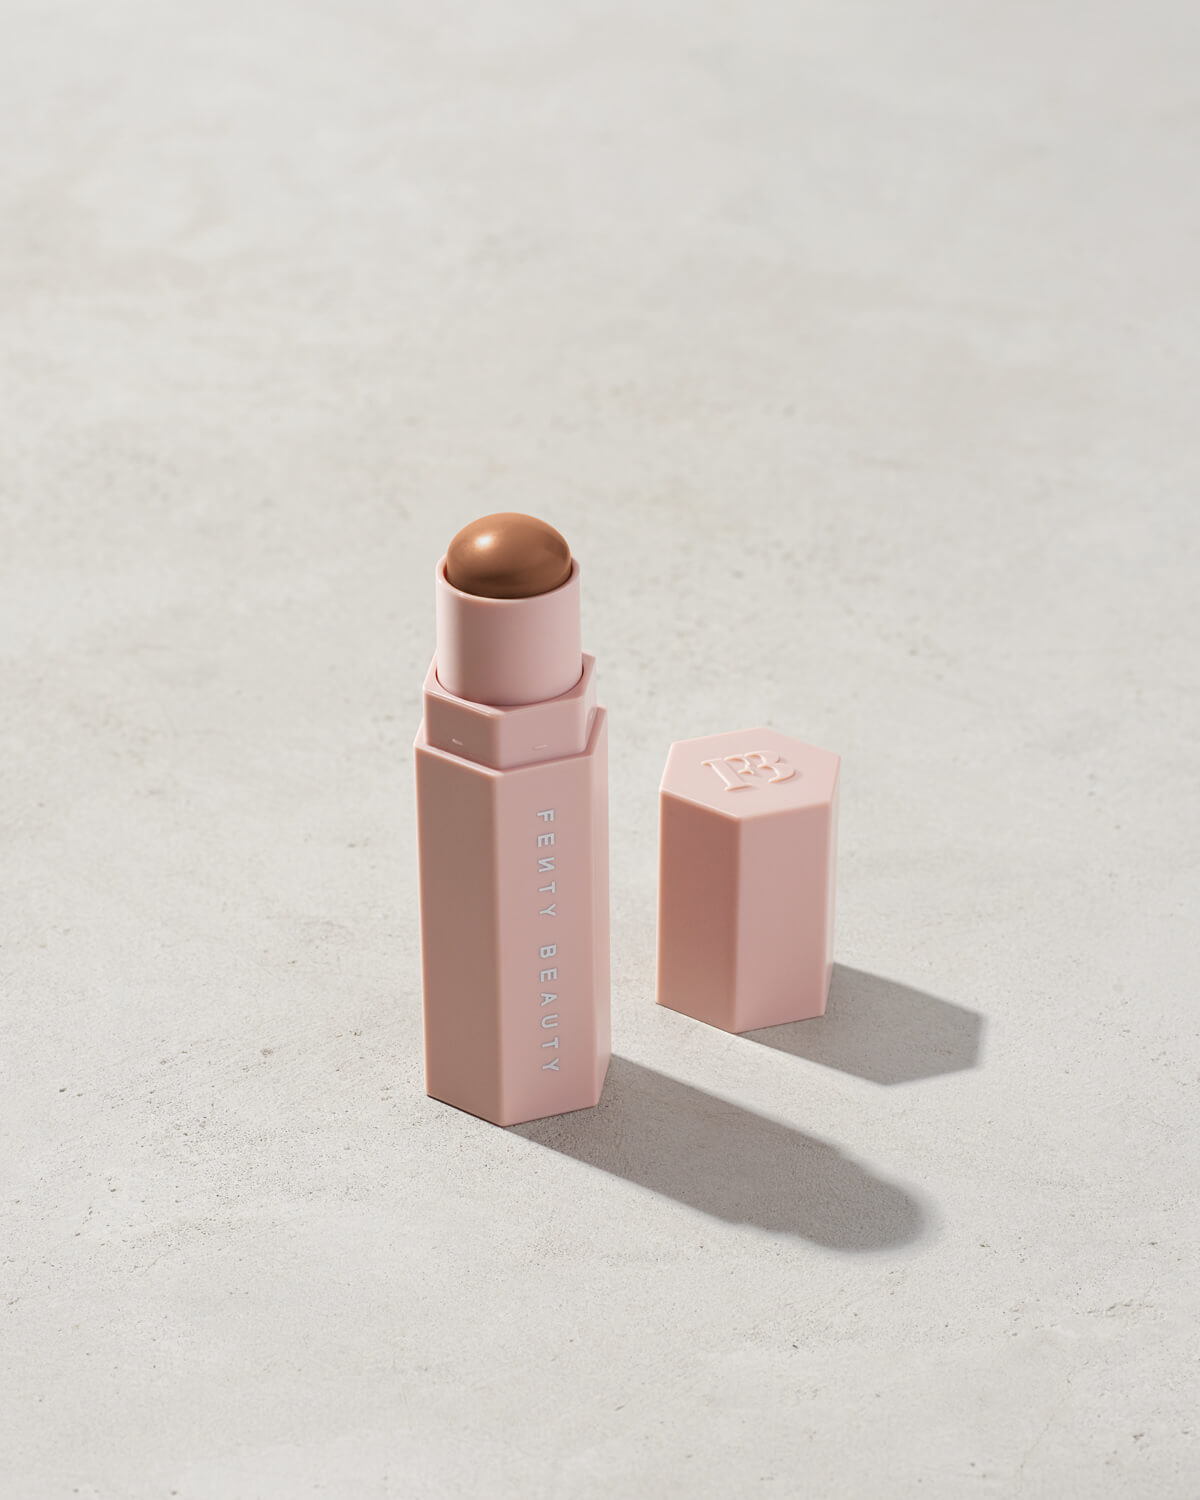


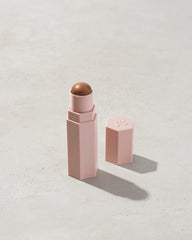
FENTY BEAUTY MATCH STIX CONTOUR SKINSTICK - MOCHA
This is part of the Fenty Beauty “Match Stix” line: a contour stick with a cream-to-powder, long-wear matte...
- INR. 3,950
- INR. 3,950
- Unit price
- per
Please hurry! Only 0 left in stock
Subtotal:
INR. 3,950
10 customers are viewing this product
Couldn't load pickup availability

Description
x-
This is part of the Fenty Beauty “Match Stix” line: a contour stick with a cream-to-powder, long-wear matte finish in a convenient two-ended stick format.
-
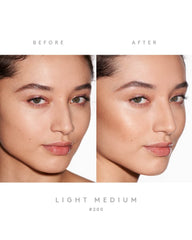
Shade name: Mocha — described on the product page as “contour for light–medium skin tones, cool undertone.”
-
Size: 0.25 oz / 7.10 g (standard for this stick format) as per listing.
-
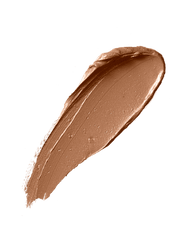
Key claims: “Buildable, easy to blend,” “light-as-air matte,” “no creasing or caking.”
Key Benefits
-
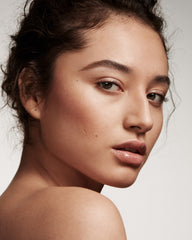
Sculpting & definition: Mocha gives you the ability to carve out shadows under cheekbones, along the jawline, on the sides of the nose, etc. — helping to create structure in your face rather than just adding warmth.
-
Cool undertone: Because the shade is described as having a cool undertone, it’s suited for skin tones where you want contour without additional warmth or bronze—ideal for creating natural-looking depth rather than a bronzed finish.
-
Pregame format: Stick format makes it travel-friendly, easy to apply precisely (which fits well with your brand workflow and detailed beauty imagery).
-
Cream-to-powder texture: Glides on like a cream, settles to a powder finish—this helps with wear time and control while keeping blendability.
-
Inclusive range: Mocha is one option in a shade-range designed to cater to a variety of skin tones, aligning with Fenty’s inclusive ethos.
How to Use
Given your strong involvement in beauty-branding and high-quality visuals, here’s a refined usage method:
-
Prep your base: After applying foundation/concealer and priming skin, make sure your surface is smooth and even.
-
Apply the stick: Use Mocha to draw contour lines in desired areas:
-
Under your cheekbones (hollow)
-
Jawline and under the chin if you want definition
-
Sides of the nose if you do nose contour
-
Temples/hairline for framing
-
-
Blend immediately: Because the formula sets to powder, immediately blend using a damp sponge, a dense brush, or your fingers to ensure seamless transition.
-
According to a user in Reddit:
“I’ve heard some people say it’s difficult to blend, but I feel like it is very workable. I’ve gotten the best results when applying after foundation and with a dampened beauty blender (vs brush or fingers).”
-
-
Layer if needed: If you require stronger definition (for photographs/branding visuals), you can build up one more layer, blending edges for a polished look.
-
Set the look: In certain lighting (especially your professional imagery/brand shoots), you may opt to lightly set the contoured areas with a translucent or matching powder to lock it in and reduce shine.
-
Check under lighting: Given you do product/face imagery, always check under your usual lighting (studio lights, daylight, phone flash) to ensure the contour looks natural and not too heavy or ashy.
Related Products
kunchals
kunchals
kunchals
kunchals
kunchals
kunchals
kunchals
kunchals
kunchals
kunchals
Recently Viewed Products

- Choosing a selection results in a full page refresh.


