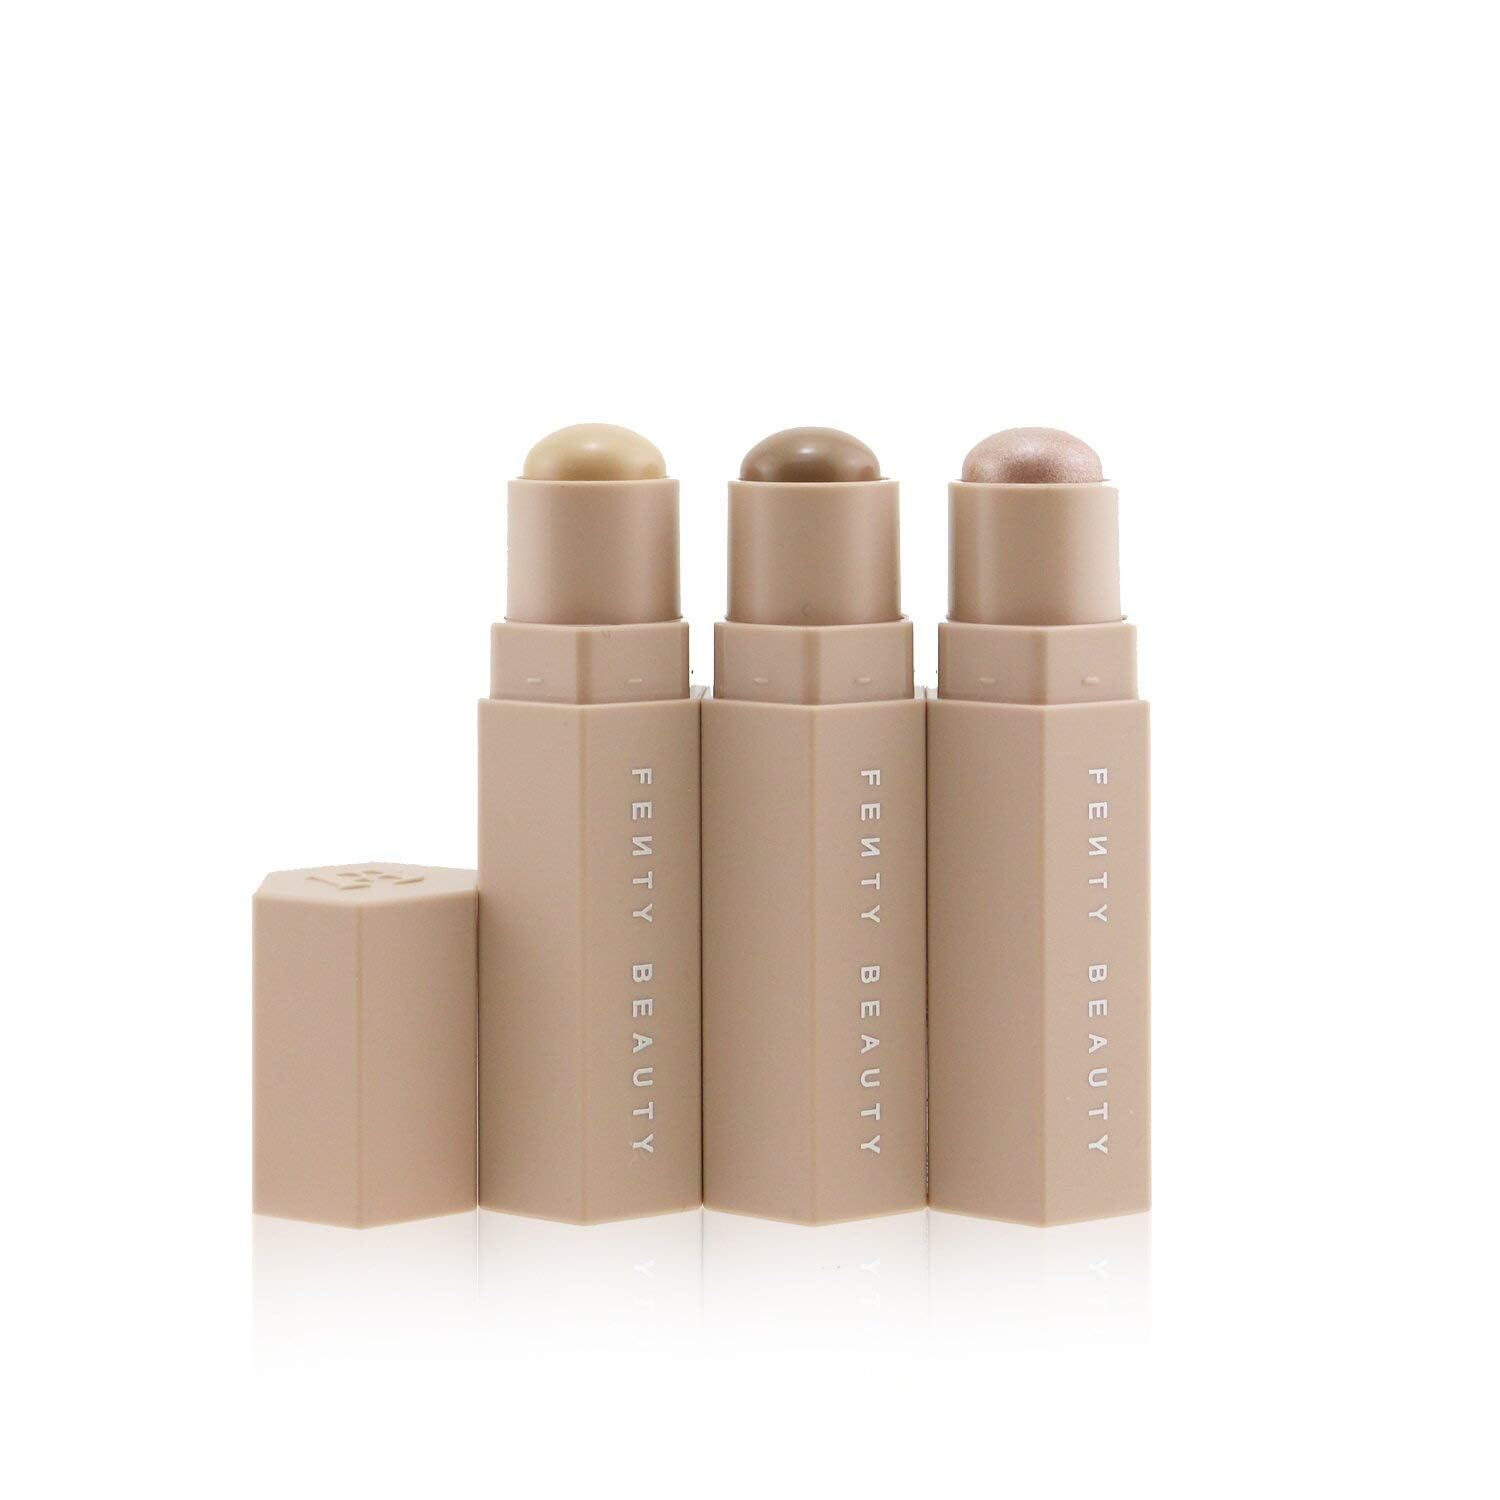
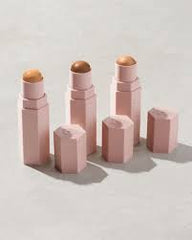


Couldn't load pickup availability
The Match Stix Trio by Fenty Beauty includes three sticks: one for concealing, one for contouring, and one for highlighting.
The Light 100 version is intended for lighter skin tones and typically includes shades named something like Linen, Amber and Starstruck for the trio.
These sticks are cream-to-powder formulas, long-wear and intended to be buildable and blendable.
The packaging is magnetized (in many versions) so the sticks click together, making it convenient for travel or portable use.
Three-in-one solution: Conceal + Contour + Highlight in one handy set — efficient for your brand-visual workflow.
Tailored for lighter skin tones in this shade-range: Light 100 is designed to match lighter complexions, making it relevant if your skin tone corresponds.
Buildable coverage & long wear: The formula is designed to layer and stay put — good for photoshoots or full-day wear.
Cream-to-powder finish: Offers ease of blending of a cream, with a more powder finish for lasting wear (helps prevent sliding in humid climates).
Magnetized & practical packaging: Useful for your workflow of product-shooting, carrying between locations, using multiple pieces.
Here’s a usage protocol tailored to your workflow and professional visual context:
Prep your face
Start with your skincare (moisturiser + any serum) and apply primer if needed (you focus on high-end visuals and flawless finish).
For the sticks: ensure the skin area (under eyes, cheekbones, jawline) is prepped and slightly primed/blurred so the sticks glide smoothly.
Applying the trio
Conceal stick: Use the lightest shade (in the trio) to cover under-eye darkness, blemishes, around nose, or brighten the centre of the face.
Contour stick: Use the shade intended for contouring (slightly deeper) to shape the face — under cheekbones, along jawline, sides of nose, temples.
Highlight stick: Use the highlight shade (lighter/illuminating) on high points like cheek-bones, brow-bone, centre of nose, cupid’s-bow.
Because you often do product photography or brand visuals: apply in daylight or your actual shoot light, then blend carefully so textures don’t show prominently.
Blending
Use a sponge or brush (you often use structured workflows) to blend each area. With your style, you might prefer seamless blending to avoid harsh lines.
For the contour: make sure the line blends into the foundation so it looks natural in photographs.
For the highlight: softly blend edges so it picks up light without sparkly/shiny texture (given your luxury aesthetic).
Setting & finishing
Given your region (Ghāziābād / Uttar Pradesh) and likely humid environment: set the areas lightly with translucent powder to avoid movement/shine but don’t go overly matte if you want a subtle luxury finish.
For visuals: check under your lighting that the highlight is not too flat or chalky. Use a light hand in powdering.
Throughout the day or shoot: carry a small touch-up product or sponge so you can refresh blend if needed.
Thanks for subscribing!
This email has been registered!